Drawing with the Canvas
You can draw graphics directly in code with the help of the CANVAS element. It can be plonked in your HTML, positioned and styled like any other element:
<canvas></canvas>
By itself the element is just what the name implies - a canvas, read for you to 'draw' on. There's a whole bunch of basic drawing operations you can do to build up complex graphics. CANVAS starts to get interesting when you draw dynamically over time - ie, make this animated and reactive!
Drawing is mostly meant for pixels, shapes and other graphic primitives. You can also draw text, but it's quite primitive. If you're working with runs of text and need word-wrapping, typographical features and so on, you're probably better off with using a normal HTML element and overlaying it on your canvas with regular CSS positioning.
Be careful about setting the size of the canvas element. In some cases you might mistakenly cause it automatically scale your graphics, making everything fuzzy. It's best to use absolute pixel units for sizing the element rather than relative units.
Coordinates
When it comes to putting things up on screens, a x, y coordinate space is the norm. x defines a point on the horizontal axis, and y a point on the vertical axis. The top-left point is 0,0, and the bottom-right point is width,height of the container (eg canvas element, screen size or whatever). The middle-point is width/2, height/2.

Sometimes z is also used or referred to. For 2D graphics, this normally refers to the 'stacking' order of things, with elements with a higher z number appearing above those with a lower z number. This is how we can determine how HTML elements stack on top of each other. When it comes to drawing on the CANVAS, there is no z axis. Rather, visibility depends on the order of drawing operations - we'll get to this later.
Getting ready for drawing
To draw we need a drawing context. This object exposes the drawing commands we need. You'll often see ctx used as the variable name for this, it's up to you what you name it.
Assuming the HTML:
...
<canvas id="canvas"></canvas>
Here's how to get the context:
var canvas = document.getElementById('canvas');
var ctx = canvas.getContext('2d');
Behold, a rectangle
Let's start off with some simple forms: filled shapes. Whenever you draw a filled object, the canvas uses the current 'fill style' to determine how it is drawn. Fill styles can be flat colours, patterns or gradients.
This example draws a black rectangle at position 0,0 with a width of 50px and height of 10px. To do so, we'll use fillRect(x,y,width,height):
ctx.fillStyle = 'black'
ctx.fillRect(0,0,50,10);
Edit this, and other snippets live on this Glitch project
If you want to draw just an outline of a rectangle, you can use strokeRect(x,y,width,height), and use strokeStyle to set the style of the line:
ctx.strokeStyle = 'red';
ctx.strokeRect(0,0,50,10);
Lines
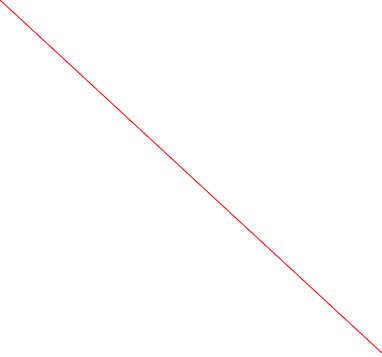
A line is a simple path with a start and end point. First you have to beginPath. Then, moveTo a position to start from, and then add a path with lineTo and the destination coordinate. Finally, call stroke to actually render the path you've created. The following example shows this, drawing a line from the top-left of the canvas to the bottom-right.
ctx.beginPath();
ctx.moveTo(0,0);
ctx.strokeStyle = 'red';
ctx.lineTo(ctx.canvas.width, ctx.canvas.height);
ctx.stroke();
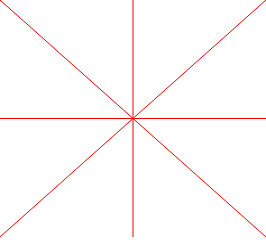
If you keep drawing lines, you can get a more complicated shape:
// Diagonal: top-left to bottom-right
ctx.moveTo(0,0);
ctx.lineTo(ctx.canvas.width, ctx.canvas.height);

// Diagonal: top-right to bottom-left
ctx.moveTo(ctx.canvas.width, 0);
ctx.lineTo(0, ctx.canvas.height);

// Horizontal middle
ctx.moveTo(0, ctx.canvas.height/2);
ctx.lineTo(ctx.canvas.width, ctx.canvas.height/2);

// Vertical middle
ctx.moveTo(ctx.canvas.width/2, 0);
ctx.lineTo(ctx.canvas.width/2, ctx.canvas.height);

// Draw all once
ctx.stroke();
To have different colours per line and such, you need to think of it as multiple paths, changing the strokeStyle and calling stroke each time you want to draw it.
The fillRect and strokeRect methods described earlier are shortcuts to defining a rectangular path and then calling fill or stroke. You can also use rect directly.
Eg, to make rectangle path at 0,0 with width of 100 and height of 10, and then fill it:
ctx.rect(0,0,100,10);
ctx.fill();
Styling a line
Change the width of a line with lineWidth:
ctx.lineWidth = '10';
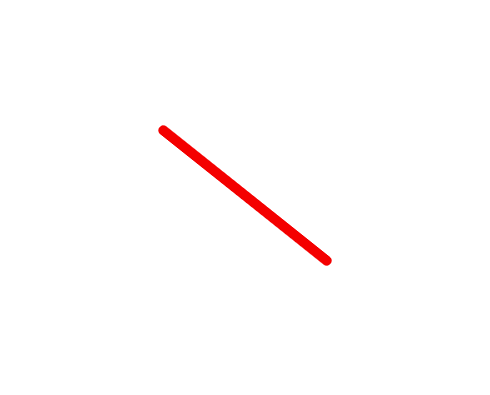
By default the line's endpoints will be a flat, like a filled rectangle. Use lineCap, and string values of round or square. Square extends the line at both ends by the width of the line.
Here's an example that uses both lineWidth and lineCap:
ctx.beginPath();
ctx.strokeStyle = 'red';

// Set our fancy properties
ctx.lineWidth = '10';
ctx.lineCap = 'round';

// Draws a diagonal line one third of the dimensions
let thirdX = ctx.canvas.width/3;
let thirdY = ctx.canvas.height/3;
ctx.moveTo(thirdX, thirdY);
ctx.lineTo(thirdX + thirdX, thirdY + thirdY);

ctx.stroke();
You can also draw lines as a dashed line, see lineDashOffset.
Read more
- lineCap (MDN)
Curves
The arc function lets you draw outlines or filled curves. The signature is arc(x, y, radius, startAngle, endAngle, anticlockwise).
The x and y is the center point of the arc, and radius is the radius, in pixels. Angles are provided in radian units, not the 0-360 you're probably used to. Read up on radians if you need to. A full rotation - i.e., a circle - in radians is 2xπ. In code, that's expressed as 2*Math.PI. A half a circle is just π (Math.PI), a quarter is π/2 (Math.PI/2) and so on. The anticlockwise is an optional flag which by default is false.
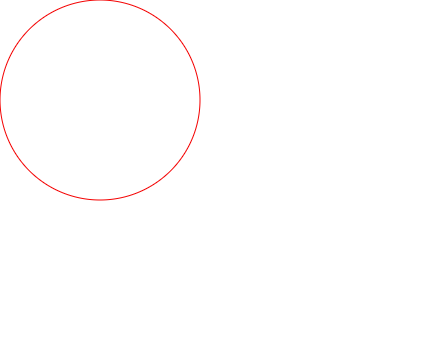
To draw a circle:
ctx.beginPath();
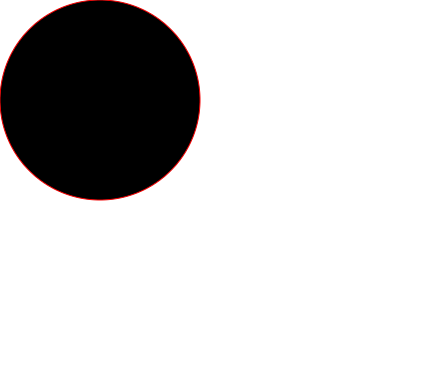
ctx.arc(100,100,100, 0, 2*Math.PI);
ctx.stroke();
You can use fill too:
ctx.fillStyle = 'black';
ctx.strokeStyle = 'red';
ctx.beginPath();
ctx.arc(100,100,100, 0, 2*Math.PI);
ctx.fill();
ctx.stroke();
Read more:
- arc (MDN)
Text
First set the properties of the text, much like you would with CSS:
ctx.font = '18px sans';
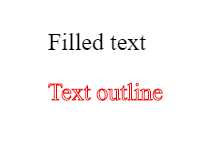
You can draw filled text with fillText or the outline of text with strokeText. Both take an x and y parameter.
ctx.fillStyle = 'black';
ctx.strokeStyle = 'red';
ctx.font = '18px sans';
ctx.fillText('Filled text', 50, 50);
ctx.strokeText('Text outline', 50, 100);
The size of the text depends on the typographical properties set. Since that's hard to know in advance, measureText function allows you to figure it out as your code runs:
let metrics = ctx.measureText('Hello');
measureText returns TextMetrics. In Chrome, this contains a whole bunch of measurements, but all browsers give you at least the width of the text. If you lack these measurements you can guesstimate the height of the text based on the font size.
In the following example, we center text on the canvas:
ctx.font = '18px sans';

// Get the current date & time
let now = new Date();
let msg = now.toLocaleString(); // Format it as text

// Measure text, calculate center point
let metrics = ctx.measureText(msg);
let middleX = ctx.canvas.width/2;
let middleY = ctx.canvas.height/2;

// Guessing 18px height
ctx.fillText(msg, middleX-(metrics.width/2), middleY-(18/2));

It's also possible to set some basic text layout parameters with textAlign and textBaseline.
Read more
- Drawing text
- Reference: fillText, strokeText (MDN)
Gradients
Rather than just drawing with flat colour, you can use linear or radial gradients.
Here's how to make a simple linear gradient. First you need to create it with createLinearGradient. It has the signature:
ctx.createLinearGradient(x0, y0, x1, y1);
x0 and y0 are the start and x1 and y1 are the end coordinates, in pixels. Once you have the dimensions set, add colour to it with addColorStop, the signature of which is:
gradient.addColorStop(offset, color);
offset is a number between 0 and 1: 0 is the start of the gradient, 1 is the end, 0.5 is the middle, and so on. color is a string for the colour. You can add as many colour stops as you like to set different bands of colour and graduation.
Example:
let gradient = ctx.createLinearGradient(0, 0, ctx.canvas.width, ctx.canvas.height);
gradient.addColorStop(0.0, 'black');
gradient.addColorStop(0.5, 'green');
gradient.addColorStop(1.0, 'red');
By itself, this won't do anything. We need to apply the gradient to either the fillStyle or strokeStyle before drawing:
ctx.fillStyle = gradient;
ctx.beginPath();
ctx.arc(100,100,100, 0, 2*Math.PI);
ctx.fill();
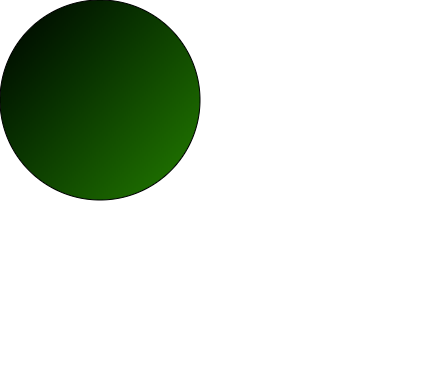
You might wonder why no red is seen, even though it was added as a colour stop. The reason is that the gradient works a little like a virtual layer, with its own position and size. When we created the gradient, we set it to the size of the whole canvas, but the circle is only 100px in size.
Look what happens if we move the circle to the other corner:
ctx.fillStyle = gradient;
ctx.beginPath();
ctx.arc(ctx.canvas.width-100,ctx.canvas.height-100,100, 0, 2*Math.PI);
ctx.fill();
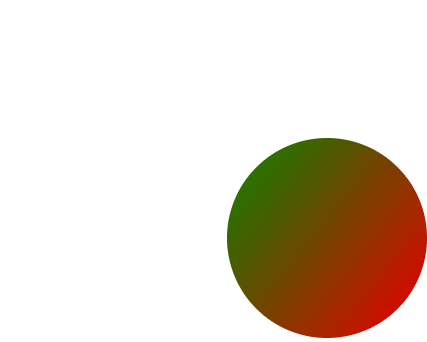
The other end of the gradient is revealed!
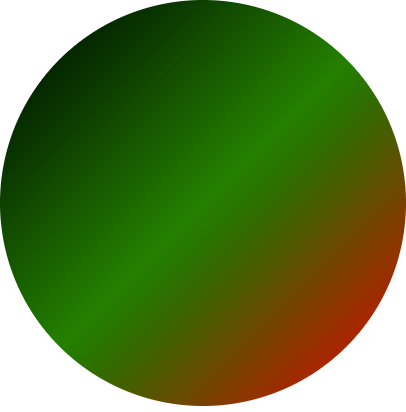
Maybe this is precisely what you want. Or perhaps you would rather set the gradient to roughly match the object being filled. This can be tricky to do perfectly, since in principle you could be filling in a irregular shape. But for a circle, it's easy enough. To demonstrate the effect better, a smaller, centered circle is used:
let canvas = document.getElementById('canvas');
let ctx = canvas.getContext('2d');

let centerX = ctx.canvas.width/2;
let centerY = ctx.canvas.height/2;
let radius = ctx.canvas.width/4;

let gradient = ctx.createLinearGradient(
centerX-radius, centerY-radius,
centerX+radius, centerY+radius
);
gradient.addColorStop(0.0, 'black');
gradient.addColorStop(0.5, 'green');
gradient.addColorStop(1.0, 'red');

ctx.fillStyle = gradient;
ctx.beginPath();
ctx.arc(centerX, centerY, radius, 0, 2*Math.PI);
ctx.fill();
You can use gradients when you fill text or draw lines, too!
Reference
- createLinearGradient, createRadialGradient (MDN)
- addColorStop (MDN)
Complicated shapes
With the building blocks of lines, arcs and curves (which I don't describe here), you can build complicated paths and shapes if you want. At some point however, SVG (Scalable Vector Graphics) may be a smarter way of doing it.
Clearing
Use ctx.clearRect(x, y, width, height) to erase part of the canvas with transparent, un-painted pixels.
To clear the whole canvas:
ctx.clearRect(0, 0, canvas.width, canvas.height);
Starter
Here's a starter snippet to set the size of the canvas according to the window size, even as the browser window itself gets resized:
// Assumes onDocumentReady is called elsewhere
function onDocumentReady() {
  // Set up event listeners
  window.addEventListener('resize', onResize);

   // Trigger manually first time, this will also call 'draw'
  onResize();
}

function draw() {
  let ctx = document.getElementById('canvas').getContext('2d');

  // Your drawing code here!
}

function onResize() {
  var canvas = document.getElementById('canvas');

  // Size canvas to match actual pixels
  canvas.width = document.body.offsetWidth;
  canvas.height = document.body.offsetHeight;

  // Redraw since canvas will be cleared
  draw();
}
Read more
- Canvas API (MDN)
- Things you can draw: 2D drawing context (MDN)